A screenshot is an image taken of whatever’s on your screen. macOS allows users to capture full-screen screenshots, window-based screenshot, and free-form screenshot. Well, the question of how to take a screenshot on mac might sound obvious to some users. That said, new users who have just switched from Windows to macOS might be facing issues in taking screenshots on a mac. So these are three simple ways to capture a screenshot on macOS.
How To Take A Screenshot On macOS
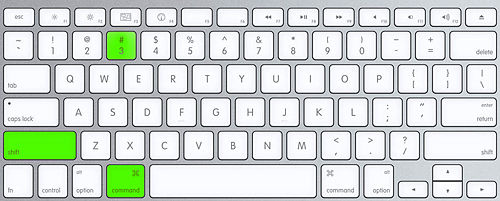
1. Shift-Command-3
How To Take A Screenshot On macOS1. Shift-Command-32. Shift-Command-43. Shift-Command-5
The first and the easiest method to take a screenshot on a mac is the Shift-Command-3 keyboard shortcut. This keyboard shortcut captures everything that’s on your computer’s screen. Moreover, this method of taking screenshots works with even older versions of macOS. The screenshot captures using this method will be automatically saved on your desktop.
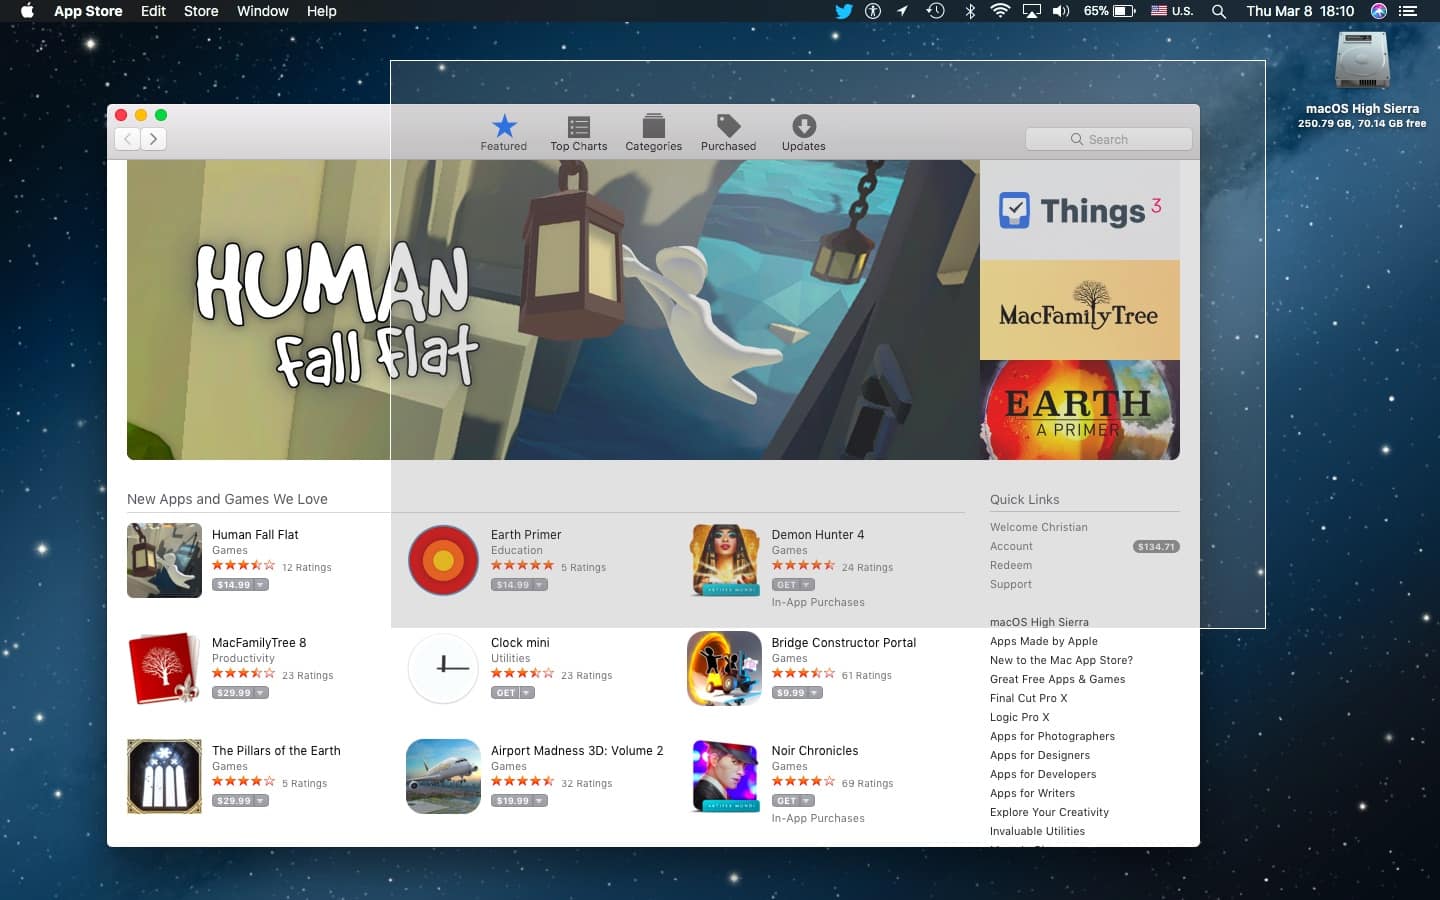
2. Shift-Command-4
The next best method to take a screenshot on a MacBook is the Shift-Command-4 keyboard shortcut. This shortcut will convert your mouse into a crosshair and using this crosshair you can select a particular region of the screen to capture. Lastly, release the mouse button or trackpad to take the screenshot. You can even use other options after triggering the Shift-Command-4 keyboard shortcut. Some useful options are listed below.
Press And Release The Space Bar: If you press and release the space bar after triggering the screenshot shortcut the crosshair will convert into a small camera icon. You can select the desired window using the camera icon and then the screenshot of that particular windows will be saved with a white border and a drop shadow. Press And Hold The Space Bar: If you press and hold the space bar after making the selection the shape and size of your selection will be retained. Later, you can move this selection to some other region of the screen.
3. Shift-Command-5
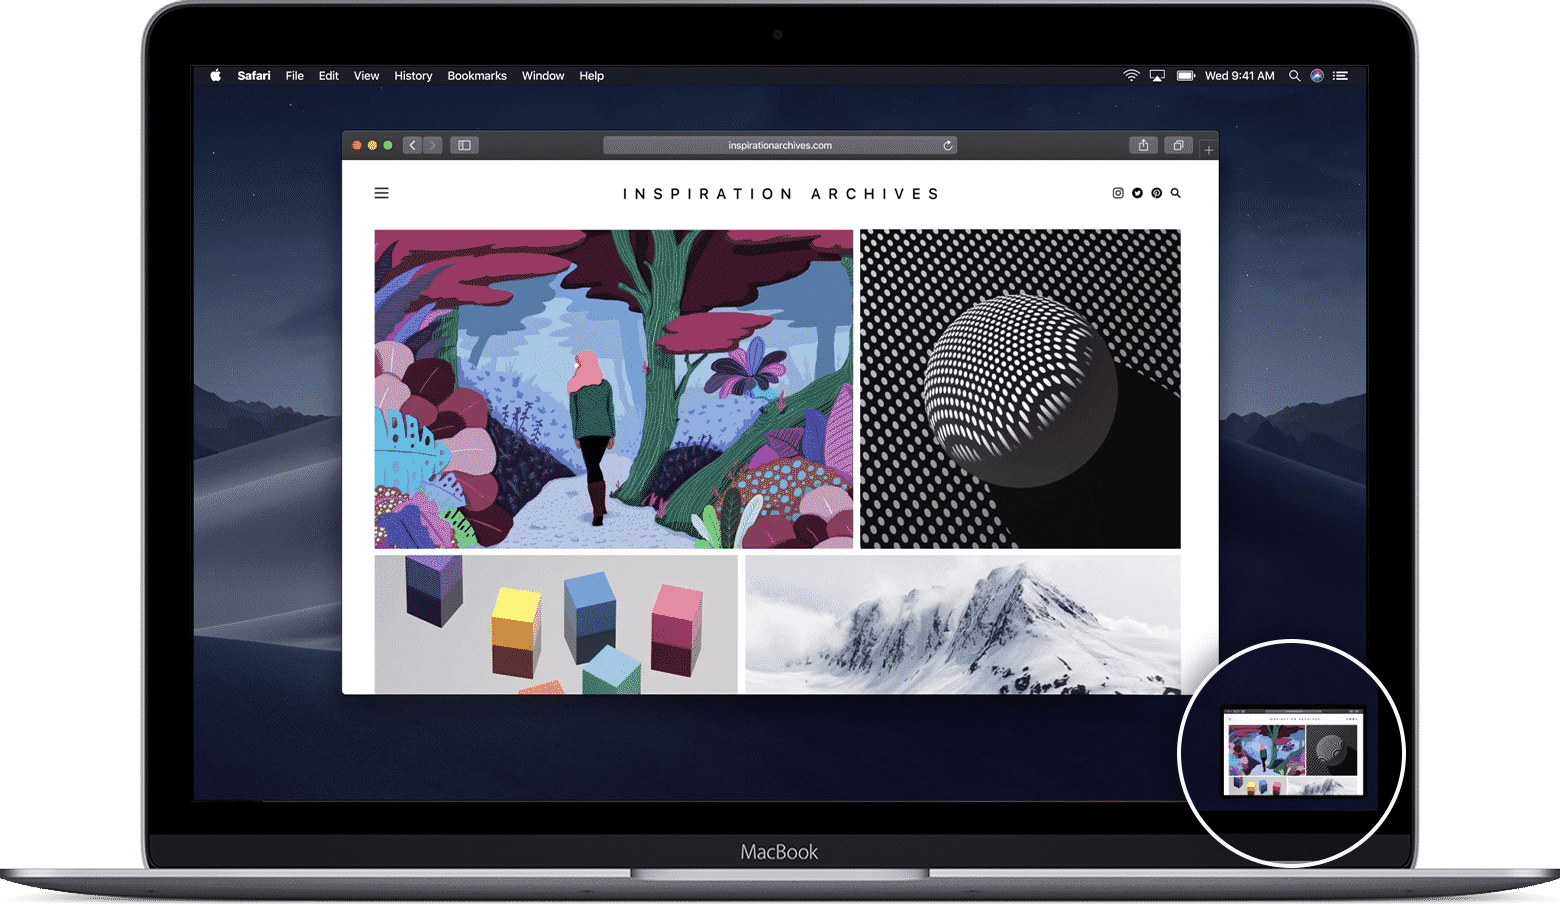
If your computer runs on macOS Mojave then the Shift-Command-5 keyboard is best for you. In fact, one of the major highlights of macOS Mojave was it’s new screenshot tools. You can use different tools on the screenshot toolbar to capture the entire screen, capture a selected window, or capture a selected region.
Once a screenshot is captured in macOS Mojave a small thumbnail of the screenshot appears briefly in the lower-right corner of your screen. You can click on this screenshot and make annotations and directly share it with your friends.
CONCLUSION
So these were three simple ways to click screenshots on a mac PC.


